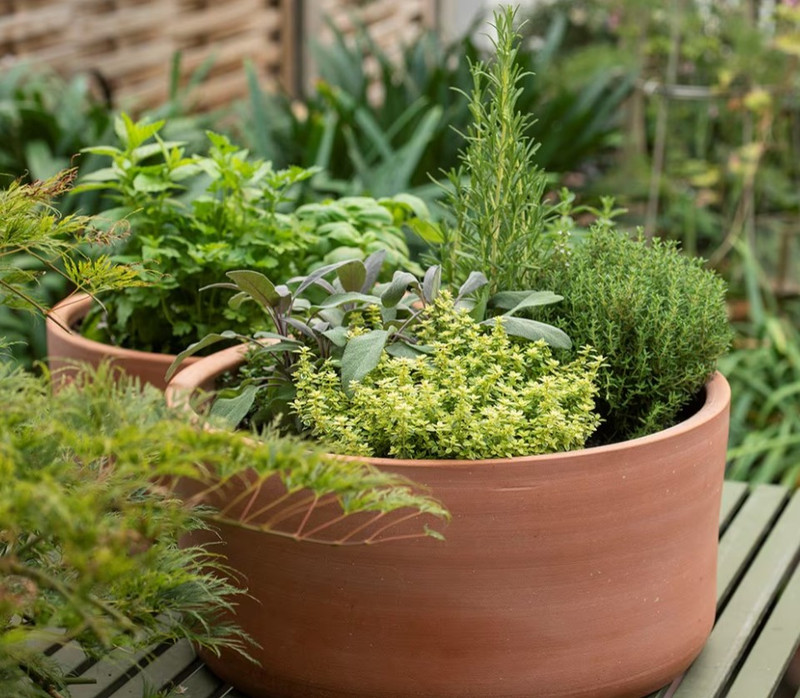
There’s something special about stepping outside the kitchen door and snipping your own herbs — especially when they’re grown in a bowl that’s as beautiful as it is practical. This week, Kate has been styling one of our favourite summer projects: the Harmony Herb Bowl. It’s compact, productive, and perfect for balconies, courtyards, sunny decks, and Cremorne beach-side BBQs alike.
Whether you’re a seasoned gardener or just dipping your toes in, this easy build brings fresh fragrance, colour, and flavour right to your fingertips.
What You’ll Need
-
A bowl with drainage (terracotta or glazed ceramic)
-
Small stones for the base (optional for improved drainage)
-
Premium herb/vegetable potting mix
-
Slow-release organic fertiliser
-
A liquid feed for fortnightly top-ups
-
4–6 herb seedlings — a mix of upright, fillers, and trailing varieties
Step 1: Choose Your Bowl
Kate starts with a 28–40 cm wide bowl. The key? Good drainage.
Terracotta is classic Harmony — breathable, natural, and beginner-friendly.
Glazed ceramic holds moisture well, perfect for hotter corners of the garden.
Step 2: Prep for Drainage
Cover the drainage hole with a piece of mesh or broken pottery.
Kate adds a thin layer of stones (optional) to help excess water escape, then fills the bowl three-quarters full with a premium herb mix.
Step 3: Plan the Layout — Thriller, Filler, Spiller
We love this simple design trick to make herb bowls both beautiful and practical.
Thriller — your upright hero
-
Basil
-
Flat-leaf parsley
-
Chives
Fillers — mid-height flavour makers
-
Thyme
-
Oregano
-
Coriander
-
Dill
Spillers — trailing and softening the edges
-
Trailing rosemary
-
Creeping thyme
-
Mint (only if contained — use a root barrier if you’re worried about takeover!)
Step 4: Plant & Space
Gently tease the roots and nestle each herb into place.
Space plants 8–12 cm apart and keep the crown level with the soil.
Kate likes to slightly angle trailing plants toward the edge so they cascade naturally.
Step 5: Feed & Top Up
Mix in a handful of slow-release organic fertiliser, then top up the bowl with potting mix and gently firm it in.
Step 6: Water In
Give your new herb bowl a slow, deep drink until water drains freely.
Finish with a light layer of mulch or pea gravel to keep the leaves clean and reduce splash when watering.
Step 7: Place for Sun
Herbs thrive in the sunshine.
Pop your bowl where it receives 5–6+ hours of sunlight daily and rotate it weekly for even growth.
Step 8: Easy Harmony Care Tips
-
Liquid feed every 2–3 weeks (Kate uses We The Wild – Grow).
-
Harvest often — pinching regularly keeps herbs compact, leafy, and delicious.
-
Keep an eye out for aphids or slugs and treat early with gentle, food-safe options.
Bring Fresh Flavour to Your Kitchen This Summer
A Harmony herb bowl is more than just a pretty planter — it’s your daily dash of flavour and joy. They’re perfect for gifting, sprucing up an outdoor table, or keeping close to your BBQ area for those impromptu summer feasts.
Pop into Harmony and chat with Kate or our friendly team — we’ll help you pick the perfect bowl, the freshest herbs, and everything you need to create your own beautiful, bountiful herb garden.

